This is a very unique subject that I have ever worked on. Did not have any clue of what Ammolite is until I was asked to create an art piece of it.

So what is this shell thing? I asked the same question. Ammolite is a rare, opal-like, gemstone composed of the shells of fossil ammonites. I won’t explain in length about this but this is the link to have a better understanding of what it is;
https://www.ammonite-factory.com/ammonite-ammolite
Ammolite is very much sought after as this organic gemstone has a dazzling range of colours and patterns and is highly desired for cabochons(gem that has been polished but not faceted) and assembled jewellery pieces.
(So lucky to actually see and touch the actual piece of Ammolite. That’s my feet in the photo.. LOL)
In Asia, it is highly valued apparently, for its Feng Shui element https://www.empireammolite.com/blogs/news/how-ammolite-relates-to-feng-shui . And the price for it is unbelievable!
BUT, for me, I see it in the art point of view. I was immediately mesmerised by the the iridescent and translucent of the colours. Not to mention, the textures.
I was a bit skeptic when I was asked whether I’m willing to create an artwork out of it. This is something which I don’t usually do, a subject of beauty. Not that I don’t like beautiful stuffs, just that I much prefer to create art pieces that has a story to tell.


But as I look at the actual Ammolite fossil, I realised that this will be a great challenge for me to create in colour pencil. I was confident that I am able to achieve that translucency with this medium. Don’t know how, I just knew it.


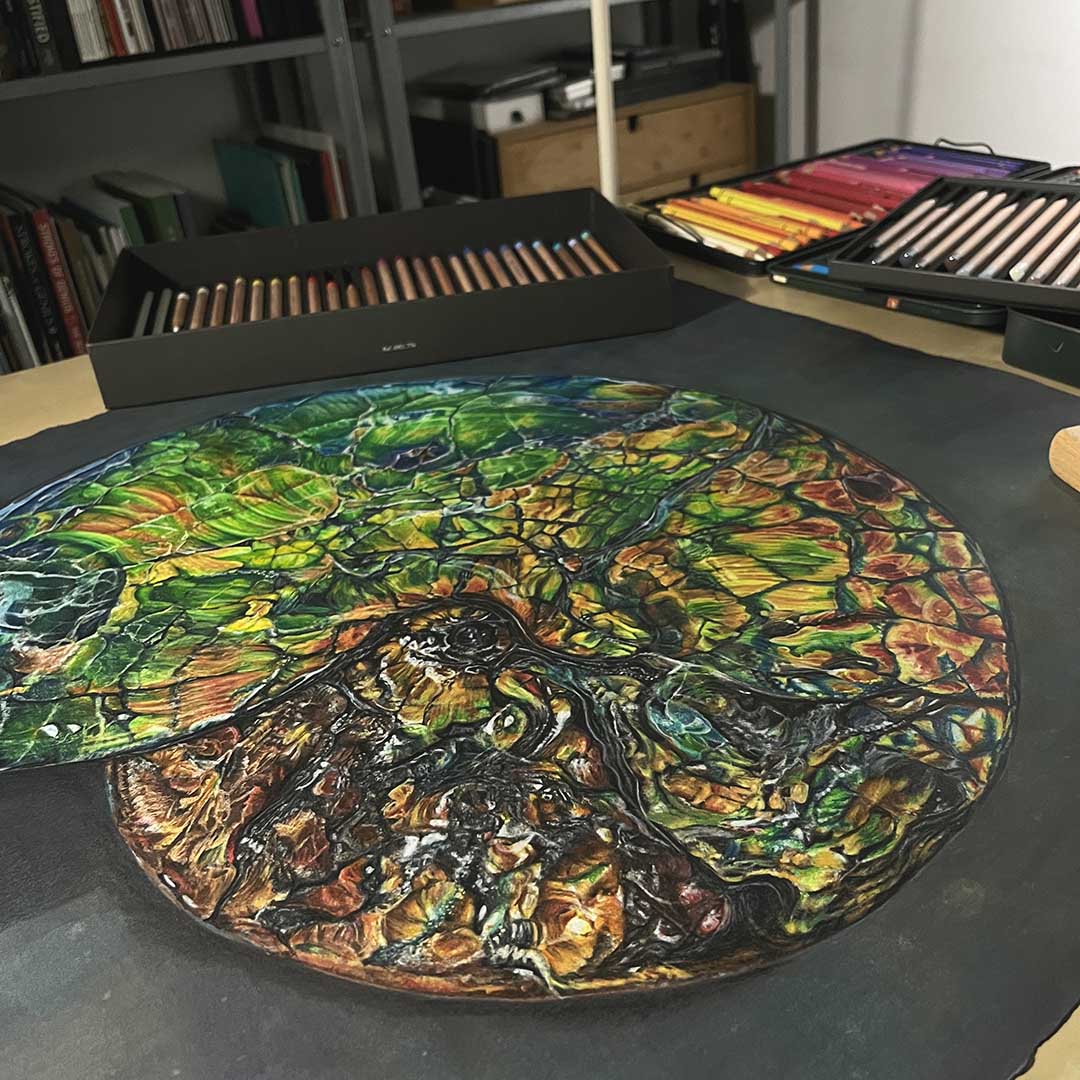
This piece is quite big in size at 30 x 22 inches (76 x 56 cm) 140lbs (300gsm) hot pressed Arches watercolour paper. Using both the water soluble and dry colour pencils. (Faber-Castell Albrecht Durer (water soluble), Faber-Castell Polychromos and Caran D’ache Luminance).
I had to use the water soluble colour pencils as underpainting to create a smooth base for the dry pencils. This technique is to make sure the grooves of the paper surface will not show through.

Once all the details are done, I worked on the background. It has to be dark but not just black. There are many colours involved. I mixed all the colours by shaving the lead of the water soluble pencil and mixed them all up in water and apply them with a flat medium sized brush.

And once it was all dried up 24 hours later, I will then apply the Black water soluble pencil over it but using it dry this time. By doing so, I’ll get a good depth of dark background but still allowing a bit of the base colours showing through.

Overall, it was an extremely good challenge and it goes to show that my confident with colour pencil proven to be right. Will I do something like this again? I think not, at the moment. This took me 10 weeks to complete. Very tedious and time consuming but truly, I’m glad I did it.